Build a Budget ADS-B Tracker with a Raspberry Pi Zero W and RTL-SDR
Track aircraft on the cheap with a Raspberry Pi Zero W, RTL-SDR dongle, and Flightradar24.

Ever wanted to peek into the skies and see what planes are flying overhead? With a surprisingly small investment, you can build your own ADS-B (Automatic Dependent Surveillance-Broadcast) receiver and contribute data to flight tracking networks like Flightradar24 (FR24). This guide walks you through setting up a low-cost ADS-B tracker using a Raspberry Pi Zero W, a cheap RTL-SDR dongle, and FR24’s pre-built image. This build is sometimes nicknamed an “ADSBPi”.
Why ADS-B?
ADS-B is the technology most modern aircraft use to broadcast their position, altitude, speed, and other identifying information. By receiving these broadcasts, you can track aircraft in real-time. Flightradar24, and other similar services, crowdsource this data from thousands of receivers worldwide to provide comprehensive flight tracking. By setting up your own receiver, you become part of this global network and get a cool view of the aviation world.
Parts List: The “Skint-but-Skilled” Shopping List
This build focuses on minimizing cost without sacrificing too much performance. You might have some of these parts lying around. We’re aiming for the absolute bottom dollar here.
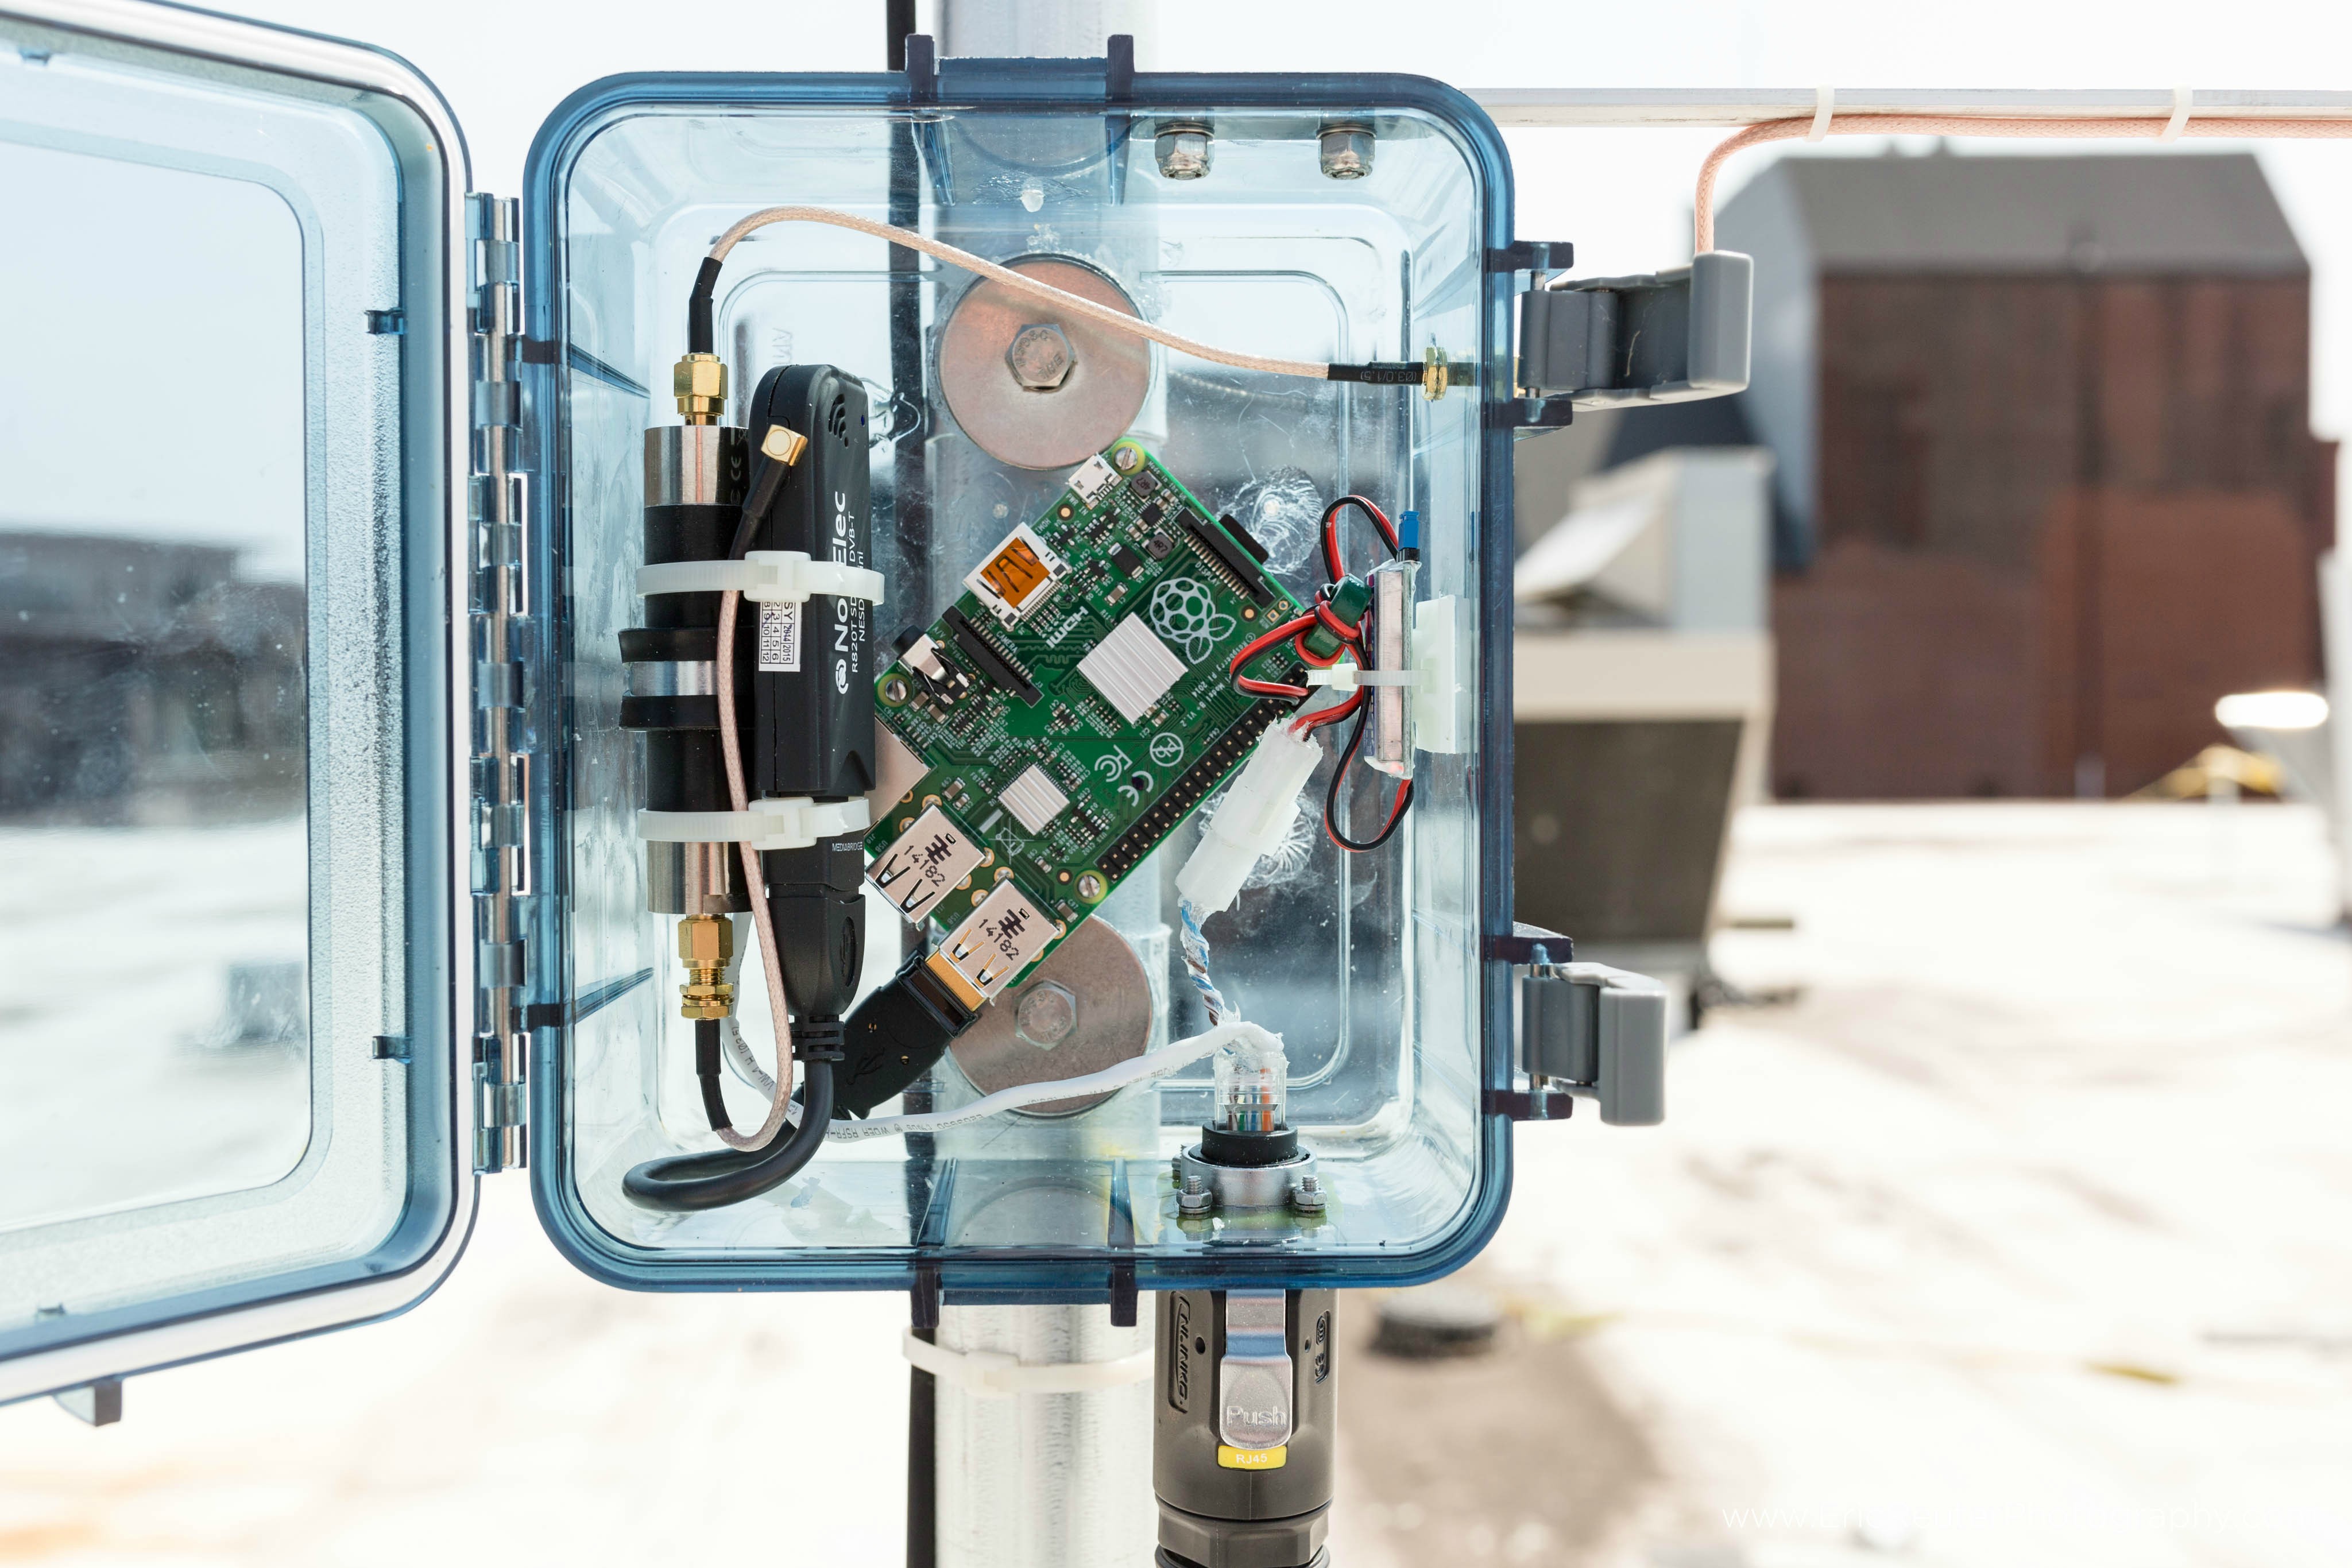
- Raspberry Pi Zero W: The heart of the operation. The “W” is crucial, as it includes built-in Wi-Fi. While a more powerful Pi would work, the Zero W is perfectly adequate for this task and keeps costs down. ($5-$10)
- RTL-SDR Dongle: Look for one based on the R820T2 tuner and RTL2832U chipset. These are incredibly common and inexpensive. Don’t worry about fancy branding; the cheap ones work fine. ($10-$20) Example: Nooelec NESDR SMArt (a slightly more upscale, but still affordable option).
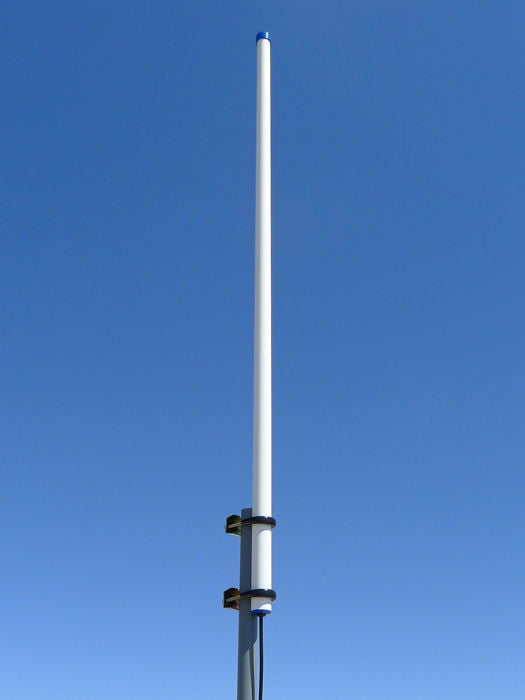
- Antenna: A dedicated 1090MHz ADS-B antenna will provide the best performance, but for starting out, a cheap telescopic antenna will do. ($8-$15). Example: Acxico 1Pcs ADS-B 1090MHZ PCB Antenna ANT
- MicroSD Card: 8GB or larger, Class 10 or better. ($5-$10)
- Micro-USB Power Supply: A reliable 5V, 2.5A power supply is essential. Don’t skimp here; a poor power supply can cause instability. A phone charger might work, but a dedicated Pi power supply is recommended. ($5-$10)
- SMA to MCX Pigtail (Potentially): You may need an adapter to convert the connection from your antenna to the RTL-SDR dongle, depending on which connector the antenna has. Verify the connector before ordering.
- Micro-USB OTG Cable (Optional): Useful for initial setup if you want to connect a keyboard/mouse directly. We’ll primarily use SSH, so this isn’t strictly necessary.
- Case (Optional but Recommended): Protect your Pi. Even a basic plastic case will help.
Step-by-Step Setup
1. Prepare the Raspberry Pi Zero W
- Download the FR24 Pi Image: Go to the Flightradar24 website (https://www.flightradar24.com/build-your-own) and download the “Pi24” image. This image is pre-configured with the necessary software to receive ADS-B data and share it with FR24.
- Flash the Image: Use a program like balenaEtcher (cross-platform and easy to use) to write the downloaded image to your microSD card. This process will erase everything on the card, so back up anything important beforehand.
Configure Wi-Fi (Headless Setup): Before booting the Pi, we’ll configure Wi-Fi so it connects automatically. This is called a “headless” setup, as we won’t need a monitor or keyboard.
- After flashing the image, do not eject the SD card. It should appear as a drive named “boot” on your computer.
- Create a new text file named
wpa_supplicant.conf(exactly that name, no.txtextension) in the root directory of the “boot” drive. - Open
wpa_supplicant.confin a plain text editor (like Notepad on Windows, TextEdit on macOS (make sure it’s in plain text mode), or nano/vim on Linux). Paste the following, replacingYOUR_SSIDandYOUR_PASSWORDwith your Wi-Fi network name and password:
1 2 3 4 5 6 7 8 9
country=US ctrl_interface=DIR=/var/run/wpa_supplicant GROUP=netdev update_config=1 network={ ssid="YOUR_SSID" psk="YOUR_PASSWORD" key_mgmt=WPA-PSK }- If you live outside of the US, change the
country=value to the appropriate ISO 3166-1 alpha-2 code for your country. - Create another empty file named
ssh(no extension) in the root of the “boot” drive. This enables SSH access, which we’ll use to connect to the Pi.
- Eject the SD Card: Safely eject the microSD card from your computer.
- Insert and Power Up: Insert the microSD card into the Raspberry Pi Zero W, connect the RTL-SDR dongle (with antenna attached), and then connect the power supply. The Pi will boot up and connect to your Wi-Fi network.
2. Connect to Your Raspberry Pi
- Find the IP Address: You need to find the IP address assigned to your Pi on your local network. There are several ways to do this:
- Router Admin Page: Log into your router’s administration page (usually by typing
192.168.1.1or192.168.0.1into your browser) and look for a list of connected devices. Your Pi should be listed, possibly as “raspberrypi” or “Pi24”. - Network Scanner: Use a network scanning tool like
nmap(if you’re comfortable with the command line) or a GUI tool like Advanced IP Scanner (Windows) or LanScan (macOS).- Example
nmapcommand (you may need to install it first):nmap -sn 192.168.1.0/24(replace192.168.1.0/24with your network’s subnet if it’s different).
- Example
- Fing: there are apps like “Fing” for mobile devices.
- Router Admin Page: Log into your router’s administration page (usually by typing
- SSH Connection: Once you have the IP address, use an SSH client to connect.
- Windows: Use PuTTY (https://www.putty.org/). Enter the Pi’s IP address, select SSH as the connection type, and click “Open”.
- macOS/Linux: Open a terminal and type
ssh pi@<your_pi_ip_address>, replacing<your_pi_ip_address>with the actual IP address. - Default Password: The default username is
piand the default password israspberry. You’ll be prompted to change this immediately – do it. Choose a strong password.
3. Configure Flightradar24
Once you’re logged in via SSH, the FR24 setup should start automatically. If it doesn’t, you can usually start it manually with:
1
sudo fr24feed --signup
Follow the on-screen prompts. You’ll be asked for:
- Email Address: Used for your FR24 account.
- Latitude, Longitude, and Altitude: Enter your location accurately. You can find this information using online map services or a GPS device. Accuracy here is important for MLAT (see below).
- Sharing Key: If you already have a sharing key from a previous FR24 setup, you can enter it here. Otherwise, a new one will be generated.
- Receiver Type: You’ll be asked to set your receiver. Choose option “1” for
ModeS Beast (USB/Network),
After the configuration, the FR24 feeder software should start automatically. You can check its status with:
1
fr24feed-status

You should see information about your receiver, including the number of aircraft being tracked.
4. Antenna Placement and Optimization
- Location, Location, Location: The single most important factor for good reception is antenna placement.
- Outside is Best: Mount your antenna outdoors, as high as possible, with a clear view of the sky. Avoid obstructions like trees and buildings.
- Window Mounting (If Necessary): If you can’t mount outdoors, place the antenna near a window, preferably one facing the direction of the most air traffic.
- Ground Plane: A metal surface under the antenna (like a cookie sheet or metal railing) can act as a ground plane and improve reception. This is especially important for the cheap magnetic mount antennas.
Cable Length: Keep the cable between the antenna and the RTL-SDR dongle as short as possible. Longer cables introduce signal loss. If you need a longer run, use high-quality, low-loss coaxial cable (like LMR-400), but this will significantly increase the cost. For this budget build, stick with short, cheap cables and prioritize antenna placement.
- Dongle Heat: The RTL-SDR dongle can get warm during operation. Ensure it has adequate ventilation. A small heatsink can help, but isn’t strictly necessary for the cheaper dongles if you have good airflow.
5. MLAT (Multilateration)
MLAT is a technique used to calculate the position of aircraft that don’t broadcast their GPS coordinates (older aircraft, some military aircraft, etc.). It relies on multiple receivers precisely timing the arrival of signals. Your receiver can participate in MLAT if:
- Your location (latitude, longitude, and altitude) is accurately configured.
- Your Pi has a stable internet connection.
- Your system clock is accurately synchronized (NTP - Network Time Protocol - should be configured by default on the FR24 image).
You don’t need to do anything special to enable MLAT; it will happen automatically if the conditions are met. Contributing to MLAT improves the overall accuracy of the flight tracking network.
6. Advanced Tweaks (Optional)
Gain Adjustment: The RTL-SDR’s gain setting controls the sensitivity of the receiver. The default setting might not be optimal for your location. You can experiment with different gain settings to see if you can improve reception. This requires editing the
fr24feed.inifile:1
sudo nano /etc/fr24feed.iniFind the
receiver-optionsline and add or modify thegainparameter. For example:receiver-options="--device-index 0 --gain 49.6". Values between 0 and 50 are typical. Restart the feeder after changing the gain:sudo systemctl restart fr24feed. Start high (around 49.6) and gradually decrease it until you find the best setting for your location. You will want to use a program likeview1090-webto connect to the data output and see the signal stength (see below).- Dump1090 and View1090-Web: The FR24 image includes
dump1090, the software that decodes the ADS-B signals. you can install a web interface by running the commandsudo apt install view1090-web. You can also use third-party tools to visualize the data locally. - Overclocking (Use with Caution): You can overclock the Raspberry Pi Zero W, but it’s generally not necessary for ADS-B tracking and can lead to instability. If you do overclock, ensure you have adequate cooling.
Troubleshooting
- No Aircraft Tracked: Check your antenna connection, antenna placement, and gain settings. Make sure the FR24 feeder software is running (
fr24feed-status). - Intermittent Connection: Check your Wi-Fi signal strength. Consider using a wired Ethernet connection (with a USB Ethernet adapter) if Wi-Fi is unreliable. Also, ensure you have a stable power supply.
- FR24 Account Issues: Check the FR24 website for any account-related problems.
Conclusion
Building an ADS-B tracker is a fun and rewarding project that gives you a glimpse into the world of aviation. With this budget-friendly setup, you can contribute to a global network and learn a lot about radio, networking, and the Raspberry Pi. Enjoy tracking!